
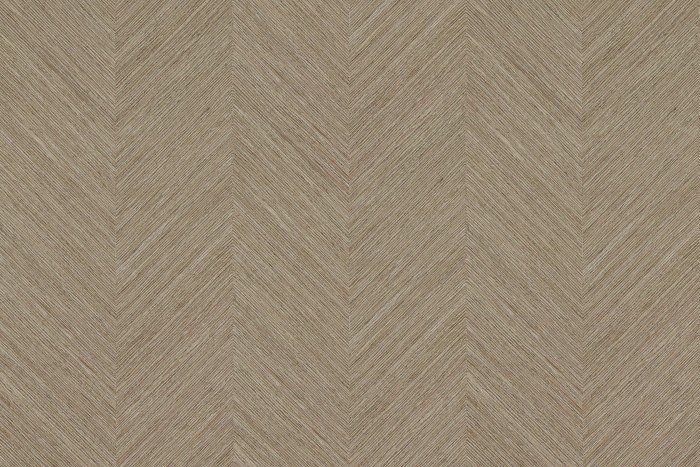


Wood Veneer Wallpaper

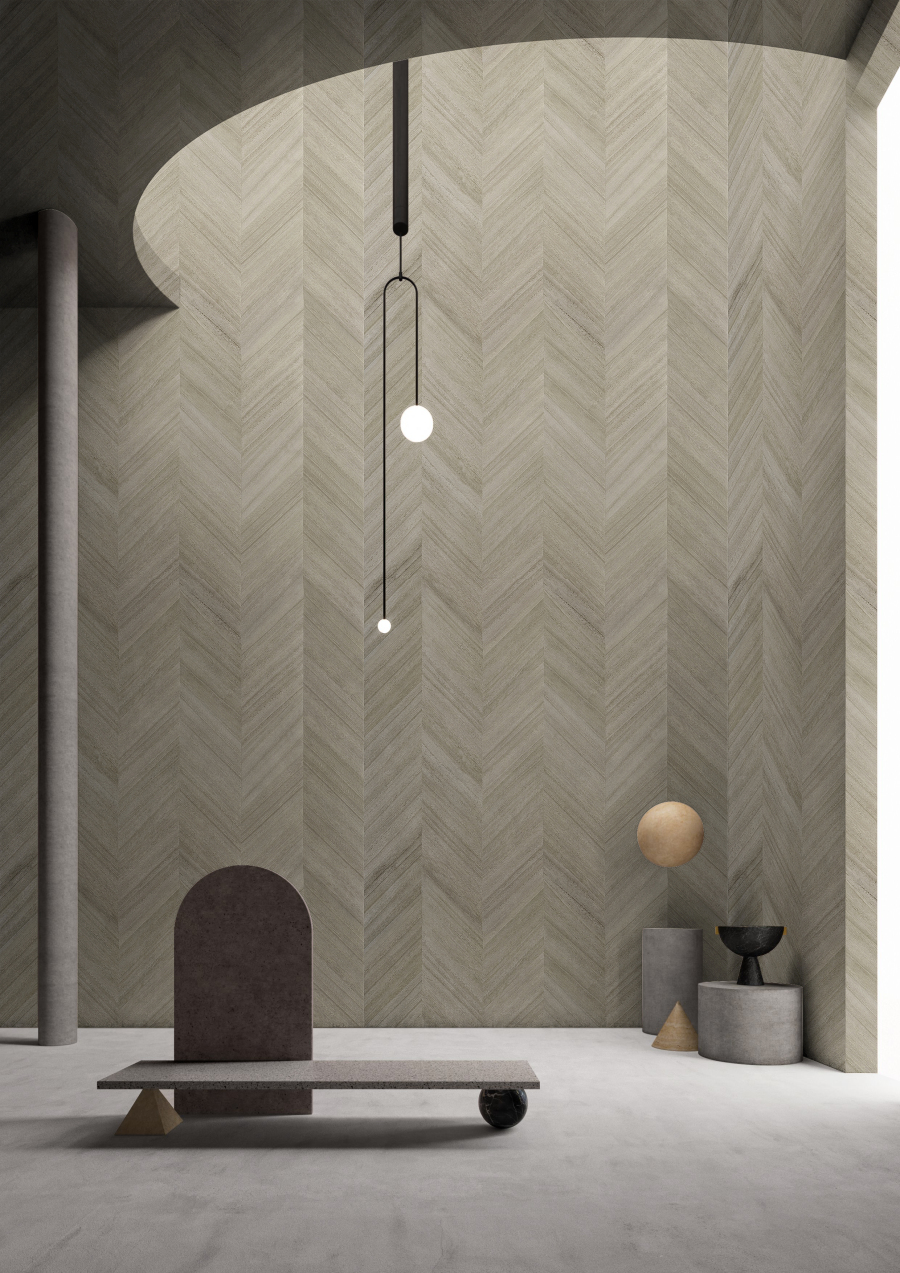
Details
Wood veneer is one of the most decorative wood products and is widely used in furniture, flooring, and accessories. It retains the natural touch and grain, offers versatile designs, is easy to use, and brings an elegant, noble texture.
Natural wood veneer production process: Logs are cut into sections, then sawn and sliced according to diameter, grain pattern and the fixation method on the slicing machine. The sliced filitches undergo hydrothermal treatment (boiling or steaming), veneer slicing, and drying (moisture content kept at 8%–12%). Only dried veneer can be used for handmade wallcoverings.
Paulownia wood is commonly used in wood veneer wallpapers. It offers stable supply, is non-toxic and environmentally friendly, possesses toughness and good abrasion resistance, is easy to work with, and accepts color saturation well. The wood displays its own natural grain pattern, which is uniform and natural, with a silky luster that is both beautiful and delicate.
Attention
1. For wood veneer series with regular grain, a thin layer of water may be misted on the back of the paper. Do not mist water on irregular grain, as it may cause blistering.
2. Adhesive is applied to the wall. After rolling large areas, use a small brush to apply adhesive to inside corners where the roller cannot reach, ensuring no missed spots. When touching up, protect adjacent surfaces with a drywall knife to avoid contamination. Hang the wood veneer wallpaper, keep it plumb, then smooth with a soft brush or plastic smoother.
3. Note that wood veneer wallpaper is rigid. When trimming top/bottom edges or making overlapping cuts, control the pressure carefully. When overlapping and cutting, always use a metal pad underneath to prevent cutting into the primer and substrate.
4. At inside corners, first press with an inside corner roller, then press firmly at a 45° angle using a metal smoother. For outside corners, mist a thin layer of water on the corner first and wait one minute to soften, then fold the wallpaper. Check whether the veneer surface cracks; if it does, use the outside corner cutting method. When cutting at an outside corner, hold a guide plate against the knife tip, keep the blade flush to the wall, then after cutting flatten with an outside corner roller. When cutting at patterned corners, trim as little as possible to ensure pattern alignment. After cutting, the whitish cut edge can be touched up with a colored watercolor pencil.
5. If bubbles occur during installation, use a wood veneer iron. To remove bubbles, set the iron temperature to 100–120°C (do not exceed 120°C) and press without rubbing back and forth to avoid damaging the surface. Only apply flat pressure. After ironing, press firmly by hand or with a soft brush to flatten.


