
1/1


Find
Artistic Mosaic
Reference Price:USD/㎡
Brand:CAI HUA
Material No.:C04F5UHP
Supplier: CONTACT US
Material ID:
Add to Project
Material Consultation
Overview
Product Reports
Documents
Specifications
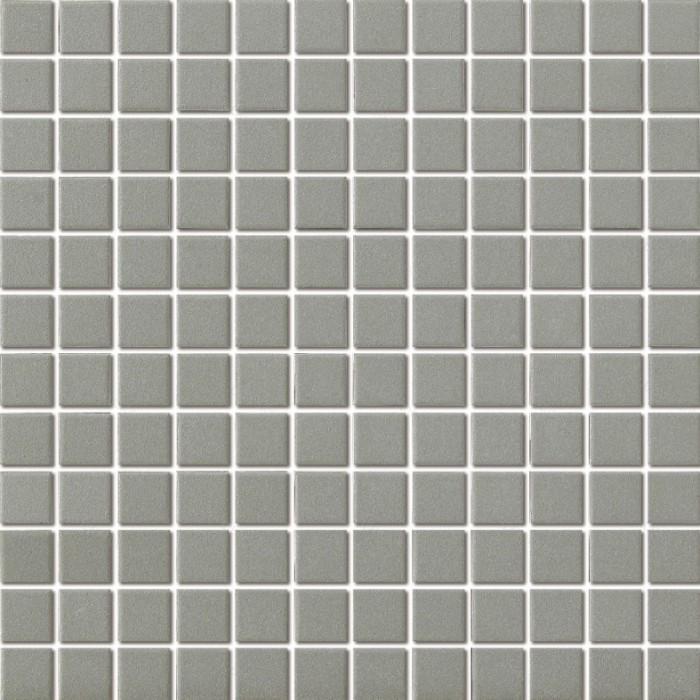
Product Model:SHX23214-1
Color:Gray Series
Flammability:A1
Content:Ceramic
Construction:Full Body Unglazed
Overall Thickness:5
Surface Sheen:Matte
Size(mm):Chip 23*23 Sheet 300*300
Brand Name:CAI HUA
Series Name:Unglazed Tile
Category:Special Finish/Mosaic
Customizable:Yes
Overview
Structural Diagram
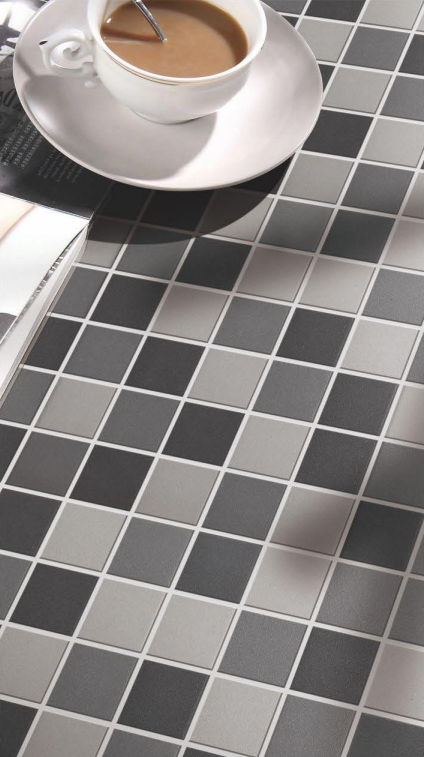
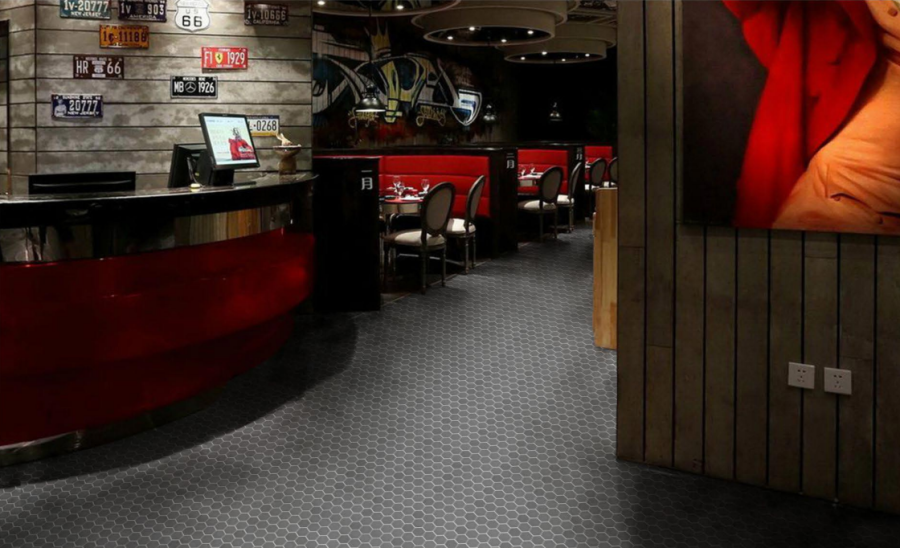
Case Diagram

Details
Full-body unglazed mosaic, anti-slip and stain-resistant. Slip resistance ≥ R10 or DCOF ≥ 0.42.
Attention
1. Inspect the materials: Before installation, carefully check the packaged mosaic tiles to ensure there are enough to complete the work. Each box displays the product code, color number, batch number, and other details.
2. Level the wall surface: The wall must be rendered flat and smooth, of a uniform color.
3. Mark guidelines: Draw lines on the wall to mark the exact position of each mosaic sheet. Lay out three sheets side by side on the floor, matching the joint widths within each sheet. Measure the total width, then use a ruler and spirit level to draw a grid of that size on the wall. Divide this large grid into nine smaller squares, each the size of one mosaic sheet.
4. Prepare tile adhesive: Mix tile adhesive according to the specified ratio. Using a trowel, spread the adhesive over an area no larger than the nine-sheet grid. First, smooth the adhesive with the flat edge of the trowel, then comb it with the notched edge to create an even ridged layer. The mosaic sheets can now be applied.
5. Apply and fix the sheets: Because the mosaic tiles are mesh-backed, they can be applied directly to the adhesive-coated wall. Place each sheet vertically. Ensure the gap between sheets matches the joint width within each sheet.
6. Secure the sheets: After positioning each sheet, gently tap its surface with a grouting float to firmly embed it in the adhesive.
7. Ensure uniform joints: Before applying grout, check that all joints between sheets are even and adjust them with a small trowel if necessary. This is the most patient part of the process and the most important step for a quality finish.
8. Grouting: Prepare the grout mixture. Using a small trowel, take a small amount of grout and apply it diagonally across the mosaic surface, working from bottom to top and top to bottom, making sure all joints are completely filled without excess residue.
9. Cleaning: Before the grout dries, begin cleaning the mosaic surface. Prepare two buckets: one with a cleaning solution and one with clean water. First, soak a cloth in the cleaning solution without wringing it out, and wipe the surface in circular motions. Then, dampen a sponge in the clean water bucket and wipe the surface to remove all residues. Finally, wipe once more with the sponge until the surface is clean.


