
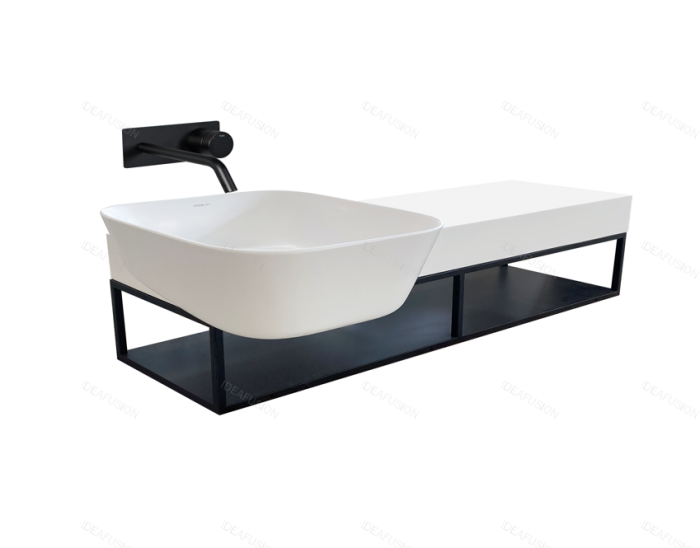


Artificial stone wall-mounted basin with shelf

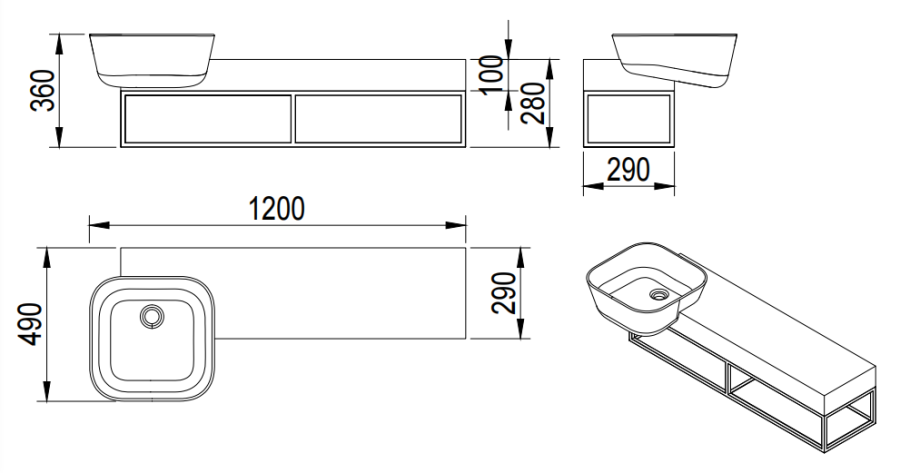
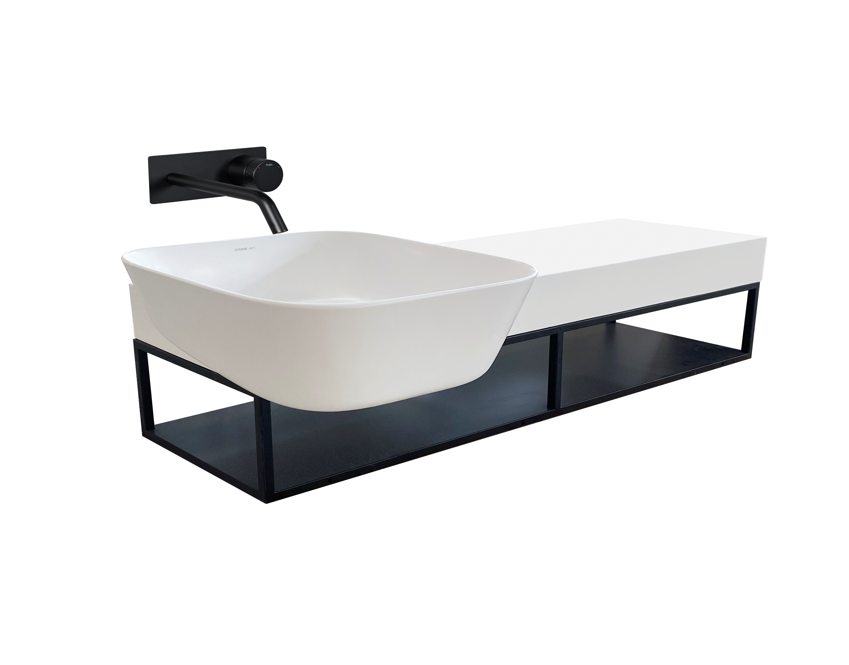
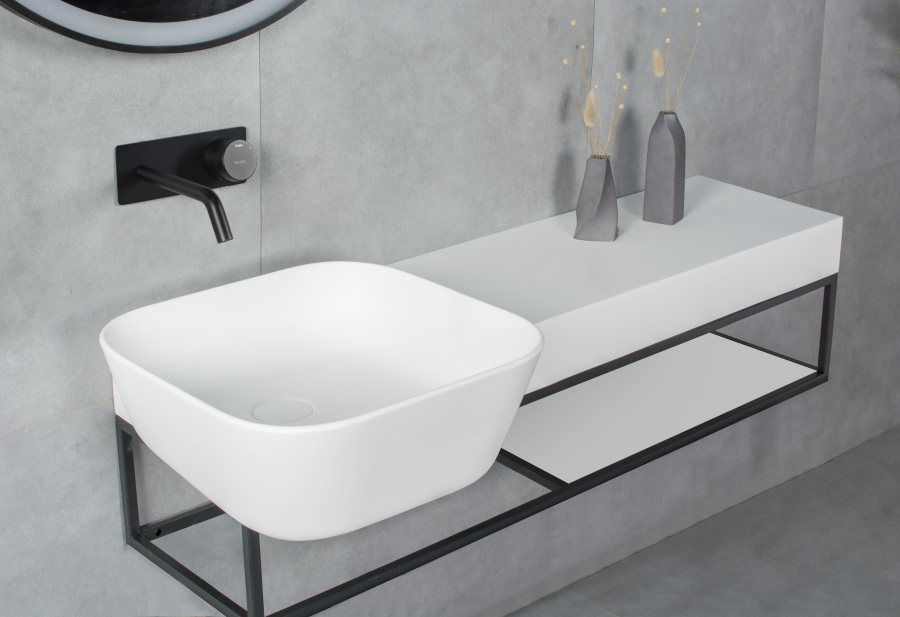
Details
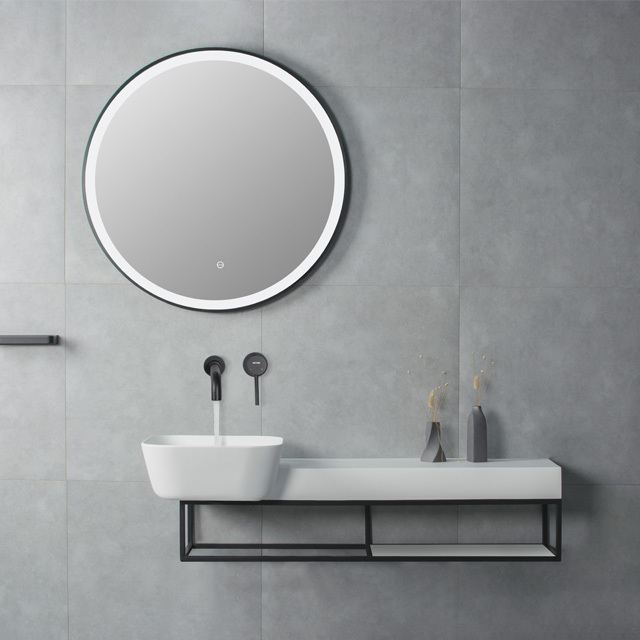
This is a wall-mounted basin unit crafted from solid surface material combined with a matte stainless steel bracket.
The wall-mounted basin is available in composite acrylic and pure acrylic versions.
Overall dimensions: 1200 x 490 x 360 mm
Basin dimensions: 1200 x 490 x 180 mm
We use premium resin and aluminium powder, paired with our independently developed formula and meticulous production techniques.
The product excels in anti-yellowing, crack resistance, tensile strength, stain resistance, load-bearing capacity and fire performance, maintaining its quality for five to ten years and beyond.
The surface is finished in a matte texture, with colour and pattern customisable according to design requirements.
Attention
In most cases, MUNK solid surface products can be repaired if accidentally damaged. However, please strictly follow the instructions below to prevent any permanent damage:
1. Avoid exposing the product to any strong chemicals, such as paint removers, heavy-duty cleaners, etc. If contact occurs, immediately rinse the surface with plenty of water.
2. Do not deliberately scratch or carve directly on the solid surface product.
3. It is recommended to run cold water simultaneously when pouring hot water.
Handling Minor Scratches:
First assess the severity of the scratch. It is advisable to begin with the finest grit sandpaper. Sand along the scratch in a straight line, and after some time, change the sanding direction by 90° and continue. This ensures all scratches are removed.
Note:
If sanding with the finest grit takes too long, you may try switching to a coarser grit sandpaper.
To minimize dust during sanding, dampen the surface beforehand.
After use, rinse the sandpaper to remove residues. It is recommended to dry the rinsed sandpaper and store it properly for future use.
Surface Care:
1. Most dirt and stains: Wash with soapy water or an ammonia-based cleaner, rinse and dry.
2. Watermarks: Wipe the watermark with a damp cloth, then dry with a clean dry cloth.
If stains persist after using the above methods, treat them using the scratch removal procedure.


