

1/1


Find
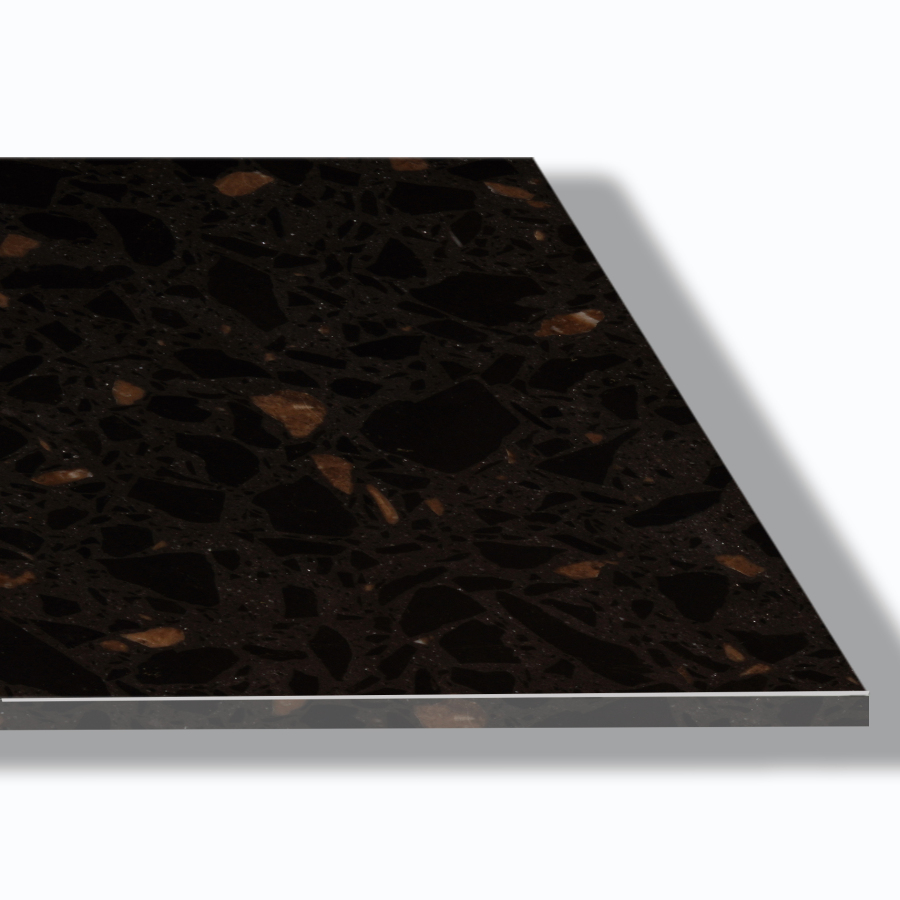
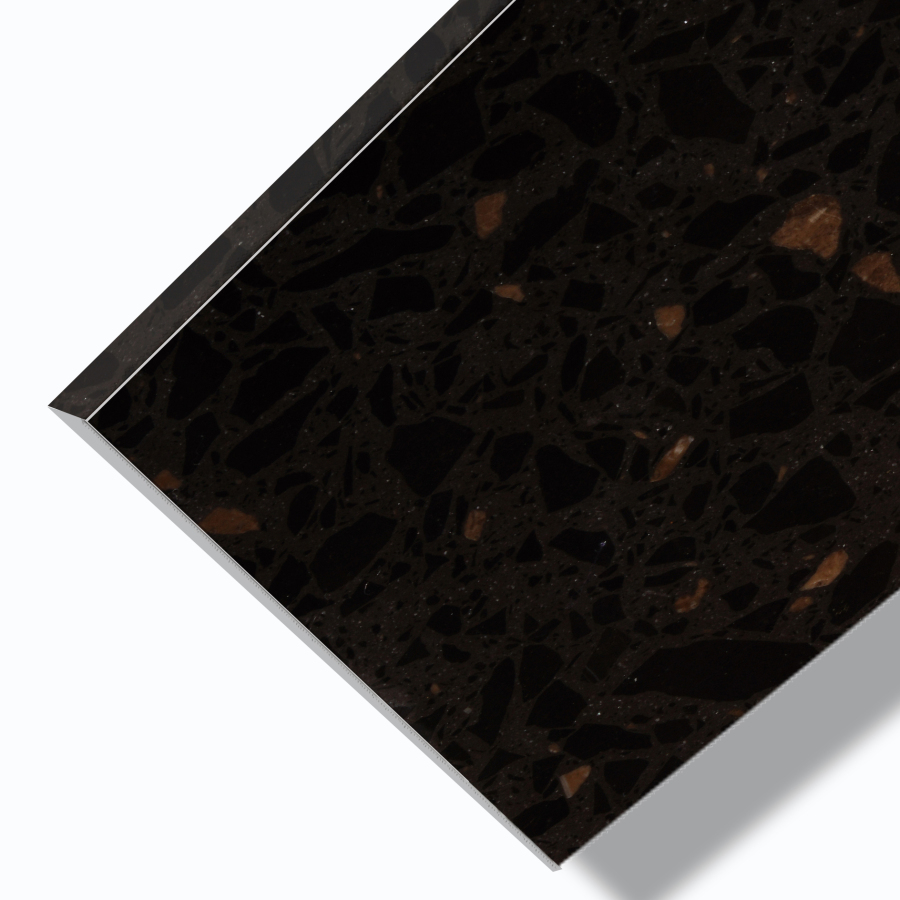
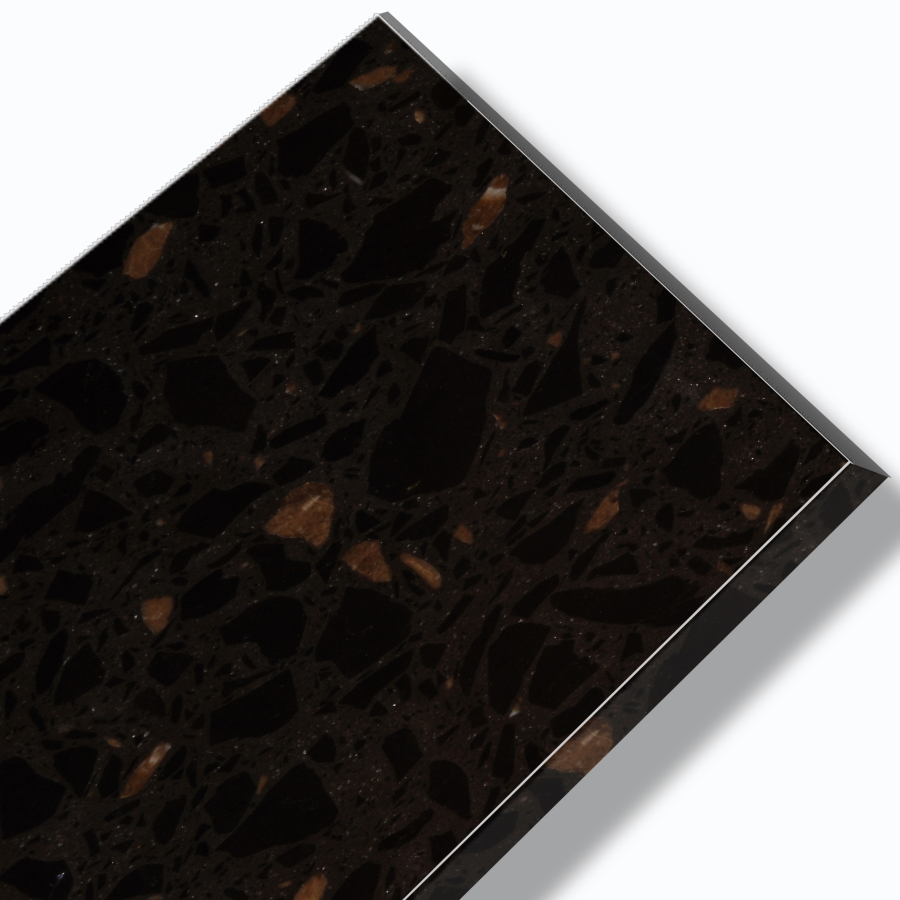
Brown Agglomerate Stone
Reference Price:USD/㎡
Brand:YUE HENG DA
Material No.:JPC6RSVG
Supplier: CONTACT US
Material ID:
Add to Project
Material Consultation
Overview
Product Reports
Documents
Specifications
Product Model:WA210966AC
Country of Origin:Guangdong Province, China
Hardness Factor:4.5
Finish:Matte,Polished,Customizable
Fire Rating:A1
Pattern:Crystal Grain
Indoor & Outdoor:Indoor Wall,Indoor Floor,Indoor Dry Area,Indoor Wet Area,Countertop
Organic/Inorganic:Organic
Overall Thickness:18,20,30,Customizable,25
Water Absorption:0.01
Size(mm):2430*1630、2430*1830、2730*1830、3030*1630、3230*1630
Density:2.58
Color:Brown Series
Brand Name:YUE HENG DA
Series Name:Artificial Onyx
Category:Stone/Engineered Stone/Synthetic Stone
Customizable:Yes
Overview
Case Diagram
Attention
ENGINEERED STONE FLOORING INSTALLATION
I. GENERAL REQUIREMENTS
The installation of engineered stone flooring shall meet the following general requirements:
1. Tiles should be laid from the farthest point toward the doorway (starting from the area farthest from the door and working backward).
2. Border tiles and baseboards (skirting) should align with the joints of the floor tiles where possible.
3. Near doors and windows, ensure protection from rain and standing water. All water, electricity, tools, and safety measures must be in place.
II. THIN-BED METHOD ON RIGID SUBSTRATE
The thin-bed method shall meet the following requirements:
1. Installation must be on a fully cured, rigid substrate. The concrete slab must cure for at least 28 days; a cement screed must cure for at least 14 days.
2. Use a two-component cementitious adhesive.
3. The rigid substrate must satisfy the following:
a) Substrate flatness deviation shall not exceed 3 mm over 2 m. If the substrate does not meet this requirement, treat with a polymer-modified cement mortar.
b) The working surface must be free of standing water; substrate moisture content should not exceed 8%.
c) The substrate surface must be sound, clean, and free of grease, paint, dust, or any contaminants that may affect adhesion.
d) Substrate strength:
- Concrete slab: strength grade no less than C20.
- Levelling mortar: strength grade no less than M15; thickness not less than 20 mm; sand/cement ratio approx. 1:2.
4. Installation process flow (see diagram).
5. Key installation steps:
a) Mechanically roughen the substrate surface to improve bond.
b) Snap chalk control lines on the substrate according to the layout drawing, and extend marks onto the wall base.
c) Mix the two-component cementitious adhesive following the manufacturer’s instructions. Mix only enough material that can be used within its pot life.
d) Using the straight edge of a 10 mm × 10 mm notched trowel, spread an even layer of adhesive on the substrate, then comb with the notched edge at a 45° angle to create full, uninterrupted ribs. Adhesive thickness should be 3 mm to 4 mm.
e) Clean the back of the engineered stone tiles with a dry cloth or brush to remove any dust, oil, rust, or other bond-breaking contaminants. Using the straight edge of a 12 mm × 12 mm notched trowel, apply a flat layer of adhesive, then comb with the notched edge at a 45° angle to create ribs. Apply sufficient adhesive to edges and corner and finish with a slight bevel.
f) Place the tile carefully into position, ensuring the ribs on the back of the tile are parallel to those on the substrate and that grooves meet ridges. Press firmly and adjust for level.
g) Leave joints as specified in the design. Use joint spacers to maintain consistent gaps. Provide movement joints as per design, extending through the tile to the substrate.
h) After every 30 m² of installation, gently tap each tile to check for hollow sounds. If a hollow area is detected, the tile must be relayed.
i) Grouting should be carried out at least 28 days after installation or once the adhesive has fully dried. Grouting requirements:
- After cleaning the joints, fill with a reactive resin grout that matches the stone color. The grout must be packed uniformly to full depth and bond firmly.
- Clean movement joints down to the substrate. Before any floor finishing treatment, fill with neutral-cure silicone sealant; after finishing, fill with a buffer such as a U-channel.
III. THICK-BED (WET-SET) METHOD
The thick-bed method shall meet the following requirements:
1. After applying a site-mixed levelling mortar, install tiles using a one-component moisture-curing polyurethane adhesive according to the following installation process flow (see diagram).
2. Key installation steps:
a) Remove any laitance, mortar splashes, oil, paint, sealers, or other bond-inhibiting materials from the concrete slab. Chip off any high spots.
b) Using the wall datum line, mark the finished floor level on the walls. Except in bathrooms, the same floor level should be used throughout the same storey.
c) Laying the levelling mortar bed:
- First, brush a neat cement slurry (water/cement ratio 0.4–0.5) onto the concrete slab, working in small areas as the mortar is placed.
- Spread the levelling mortar. The bed thickness should be such that when the tile is placed, it sits 3–4 mm above the finished floor level.
Use ordinary Portland cement, grade 32.5 or higher, with medium or coarse sand having a silt content <3% and free of organic matter. The sand/cement ratio should be approx. 1:2, mixed with water to a “just damp, crumbly” consistency (a squeezed ball should hold its shape but crumble when dropped). Screed and compact the bed.
d) Snap control lines. Dry-lay the tiles on the mortar bed to check color, size, and edge straightness; adjust as necessary, tapping and working the tile into place.
e) Applying adhesive:
- Prepare the one-component moisture-curing polyurethane adhesive as per instructions.
- Lift the trial-placed tile. Apply small dabs of adhesive to the mortar bed at the four corners. Clean the back of the tile with a dry cloth or brush. Using a 6 mm × 6 mm notched trowel, apply a full coat of adhesive to the tile back, 2–3 mm thick. Ensure edges and corners are well covered and beveled.
f) Set the tile onto the levelling bed, press firmly, and tamp into position. Do not use excessively hard blows.
g) Leave joints as specified. Use joint spacers and incorporate movement joints as required, extending down to the substrate.
h) After every 30 m², tap each tile to check for hollow sounds. Relieve hollow areas immediately.
i) Grouting: same as Section II, point i.
IV. POST-INSTALLATION PROTECTION
After the floor is laid, cover immediately with a breathable protective layer (e.g., gypsum board, fiberboard, cardboard, or plywood sheet) to prevent scratching, staining, and impact during subsequent work. Do not walk on the floor for at least 3 days after installation. For 7 days, avoid moving goods, placing ladders, or bringing in heavy equipment.


