
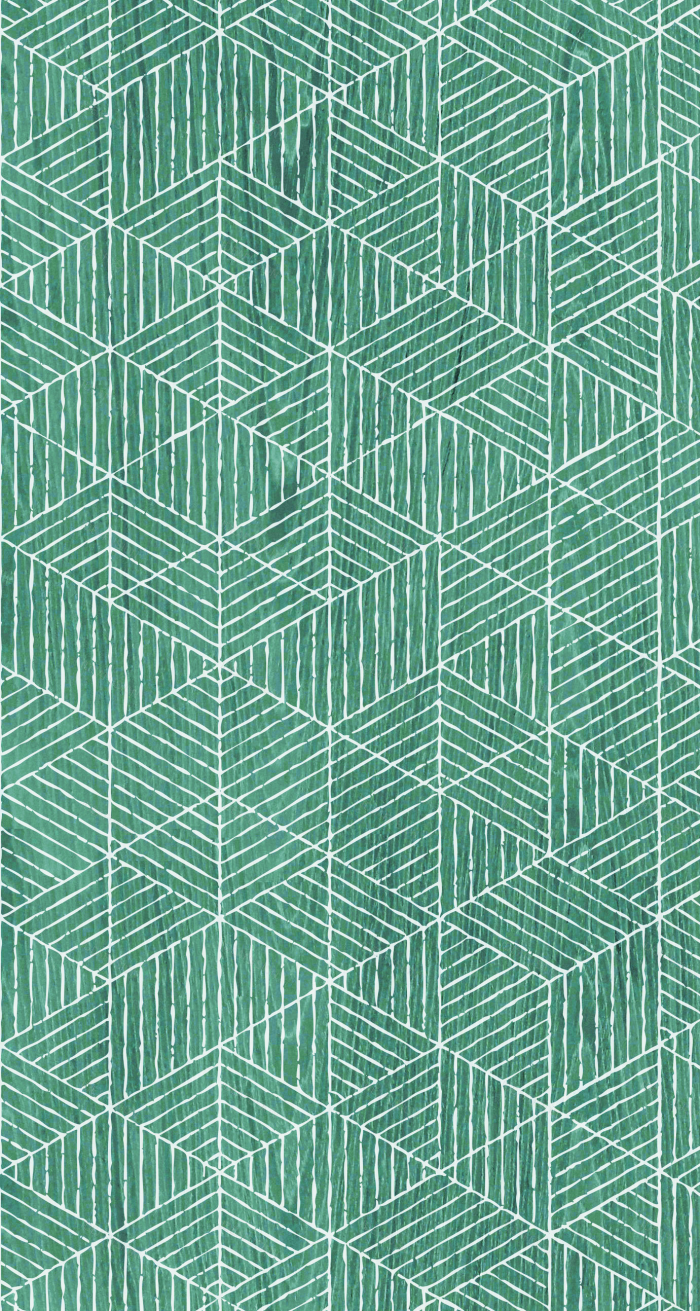


Natural Wood Veneer Wallpaper

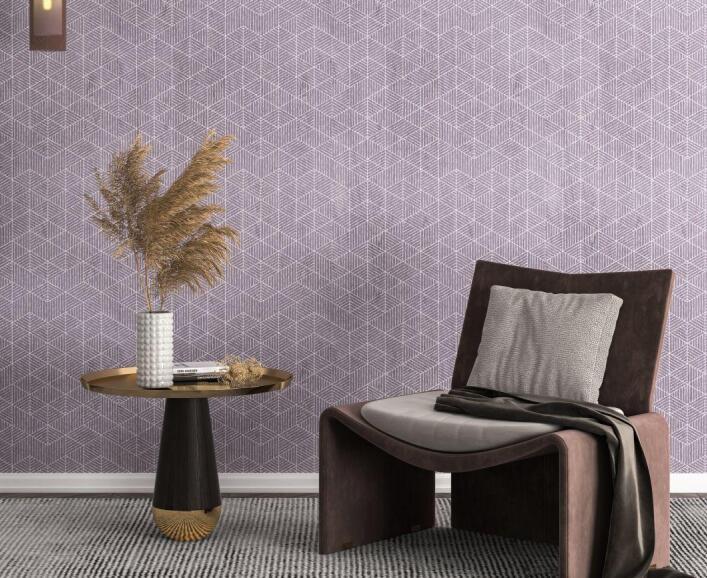
Details
This wood veneer collection is crafted from paulownia trees aged over twenty years. Only the straight, middle section of the trunk is selected, and the veneer is cut to a precision of millimetres, excluding the outermost layers and the very heart of the wood. The veneers are then sorted according to grain, colour, sheen and overall appearance before being computer-cut into blocks with an accuracy of 0.01 cm. During the dyeing stage, a special process is used to apply colour, followed by drying, after which the veneer is ready for inlay. Throughout the entire workflow, the veneer also undergoes additional treatments such as air-drying and controlled drying, lasting as long as several weeks.
Attention
Note: This product is a handmade wallpaper. The material may show slight irregularities, which are inherent to the production process. Minor colour variations between samples and delivered products, as well as between individual pieces, are unavoidable.
The wall should be prepared with a latex-based paint (to ensure good moisture resistance). After drying, the surface must be perfectly flat and smooth. The paint colour should match the wallpaper hue, especially at the seam areas.
Due to the natural character of the material, some colour variation is unavoidable. To minimise noticeable differences, lay out the sheets before hanging and compare their tones, then install them in order from dark to light or vice versa. If necessary, trim the edges with a very sharp blade.
Do not soak the paper in water or make the wallpaper excessively wet. Otherwise, it will shrink upon drying and cause gaps at the seams.
Do not fold the wallpaper before or after applying adhesive, as creases are difficult to smooth out.
Because the backing is a thicker non-woven fabric, lightly dampen the back of the wallpaper with a clean, damp cloth or sponge, taking care not to wet the face. Leave it for about 5 minutes to allow the non-woven backing to absorb moisture and stretch fully.
Use a high-quality, transparent, low-water-content adhesive with strong bonding properties that leaves no visible marks after drying. Apply the adhesive evenly and generously to the wall surface. Install the sheets in the pre-arranged sequence from dark to light or light to dark.
After positioning on the wall, use a soft spatula to remove excess adhesive and air bubbles. Be careful not to squeeze adhesive out through the seams, as this may stain the wallpaper surface.
If adhesive accidentally gets onto the front of the wallpaper, wipe it off immediately with a damp sponge.
Install two to three sheets as a test run to ensure there are no issues before continuing with the full installation.
During the drying process, keep both temperature and humidity consistent with the conditions during hanging. Any sudden changes, such as turning on air conditioning or using a heater/dryer, may cause the wallpaper to crack.
Slight bubbling on the surface is normal. If an obvious blister appears, use a syringe to inject a strong adhesive under the bubble, then press it flat.
Daily care and cleaning:
Avoid direct sunlight or strong reflected light. We cannot guarantee that the wallpaper will not fade or change colour over time.
Do not expose the wallpaper to overly damp environments, as this will affect the product’s lifespan.
Do not use detergents, solvents or chemical cleaners on the wallpaper. Routine dust can be removed with a vacuum cleaner.


