
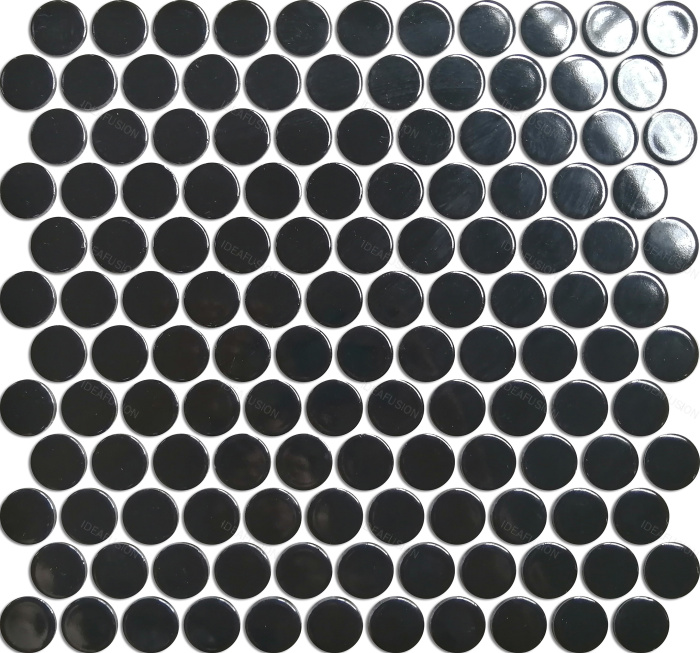


Artistic Mosaic

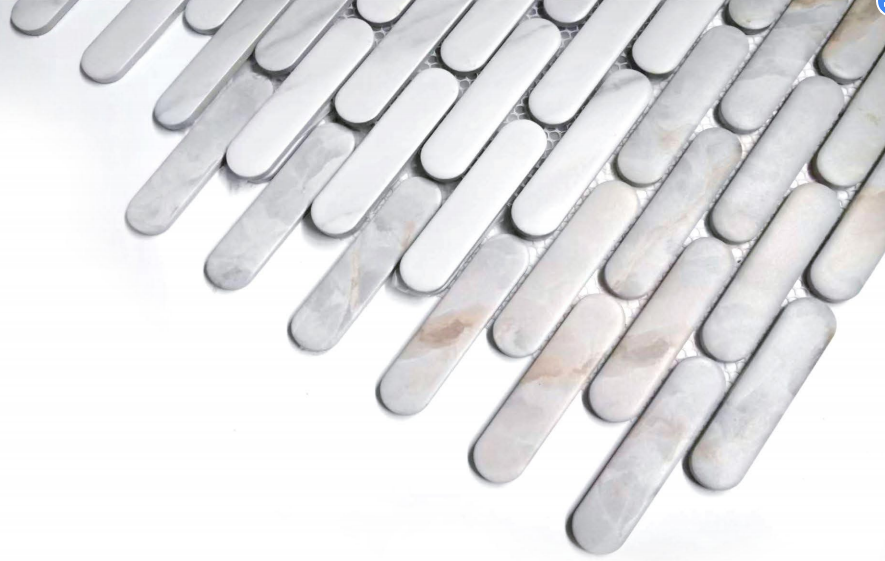
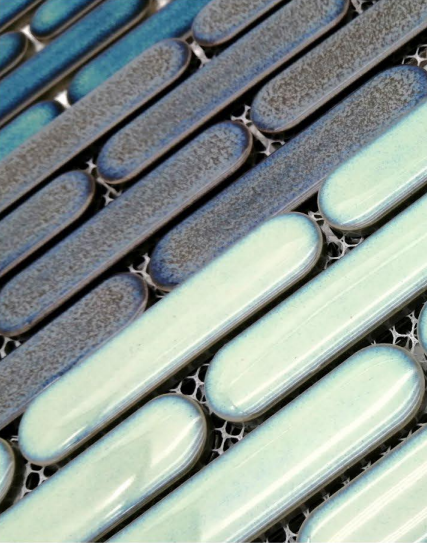



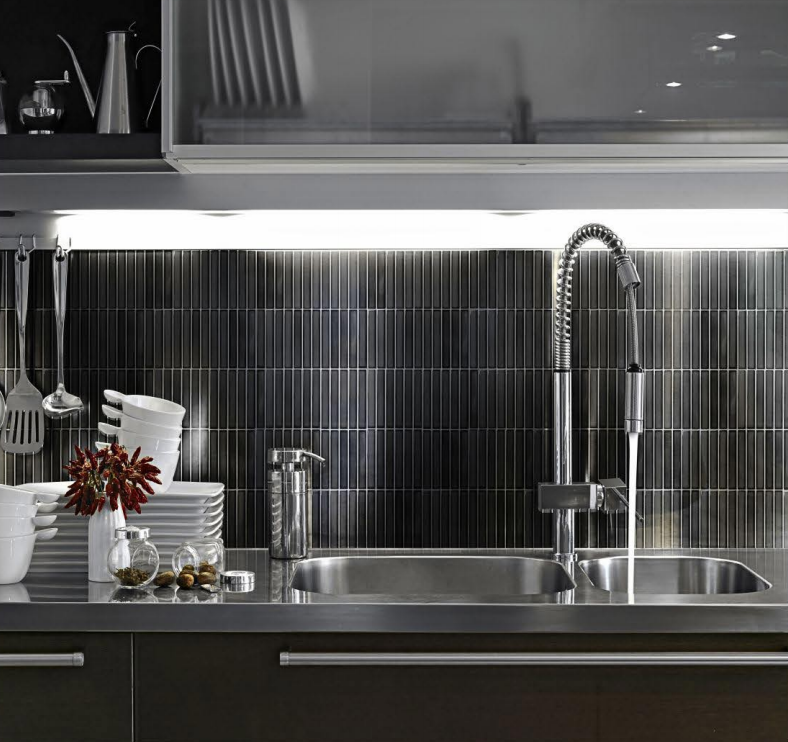
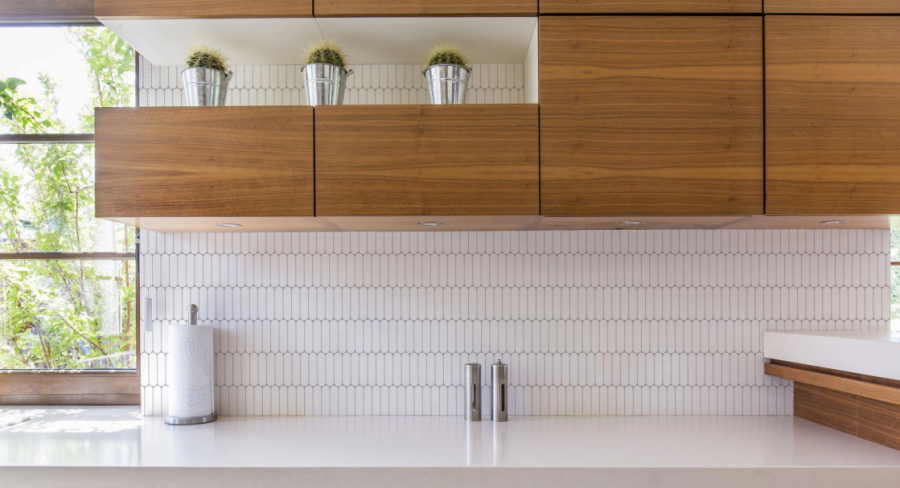
Details
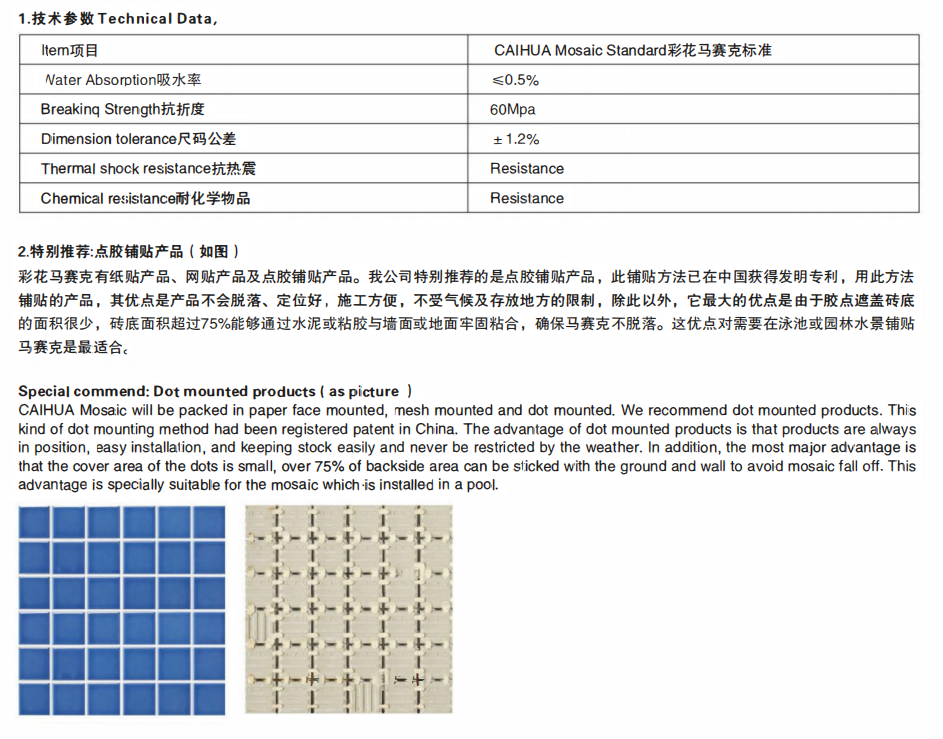
Attention
1. Check the materials
Before starting, carefully check the mosaic tiles in the packaging box to ensure you have enough to complete the job. Each box displays the product model, color number, batch number, and other details.
2. Level the wall surface
This step is to smooth the wall base. The leveled wall must be smooth and uniform in color.
3. Mark guidelines
Draw lines on the wall to indicate the exact position of each mosaic sheet. Lay out 3 mosaic sheets side by side on the floor, making sure the gaps between sheets match the grout joints within each sheet. Measure the overall width, then use a ruler and spirit level to transfer these dimensions onto the wall horizontally and vertically, creating a large grid. Divide this large grid into 9 smaller equal squares, each square for one mosaic sheet.
4. Prepare tile adhesive
Prepare tile adhesive mixed according to the ratio. Use a trowel to apply the adhesive, but only spread it over an area no larger than 9 mosaic sheets at a time. First, smooth the adhesive with the flat side of the trowel, then use the notched edge to create an even layer of ridges. Now the mosaic tiles are ready to be installed on the wall.
5. Apply and fix
Since mosaic sheets are mesh-backed, they can be directly applied to the prepared adhesive wall. Place the mosaic sheet vertically. Note: The gap between adjacent sheets must be consistent with the grout joint within each sheet.
6. Press firmly
After each sheet is positioned, gently tap the surface with a grouting float to ensure it is firmly adhered to the wall.
7. Ensure even grout joints
After all sheets are fixed, and before applying grout, check that the gaps between sheets are uniform in width. Use a small trowel to adjust the joints as needed. This is the most patient-demanding step but the most crucial part of the installation.
8. Grouting
Prepare the required grout. Using a small trowel or grout float, take a small amount of mixed grout and spread it diagonally across the mosaic surface, moving from bottom to top, then top to bottom, to ensure all joints are fully filled without excess residue.
9. Cleaning
Before the grout dries, start cleaning the mosaic surface. Prepare two buckets, one with a cleaning solution and the other with clean water. First, dampen a cloth in the cleaning solution (do not wring it out completely), then wipe the mosaic surface in circular motions. Next, wet a sponge in the clean water bucket and wipe the surface to remove all residue. Finally, wipe the surface with the sponge again until clean.


