
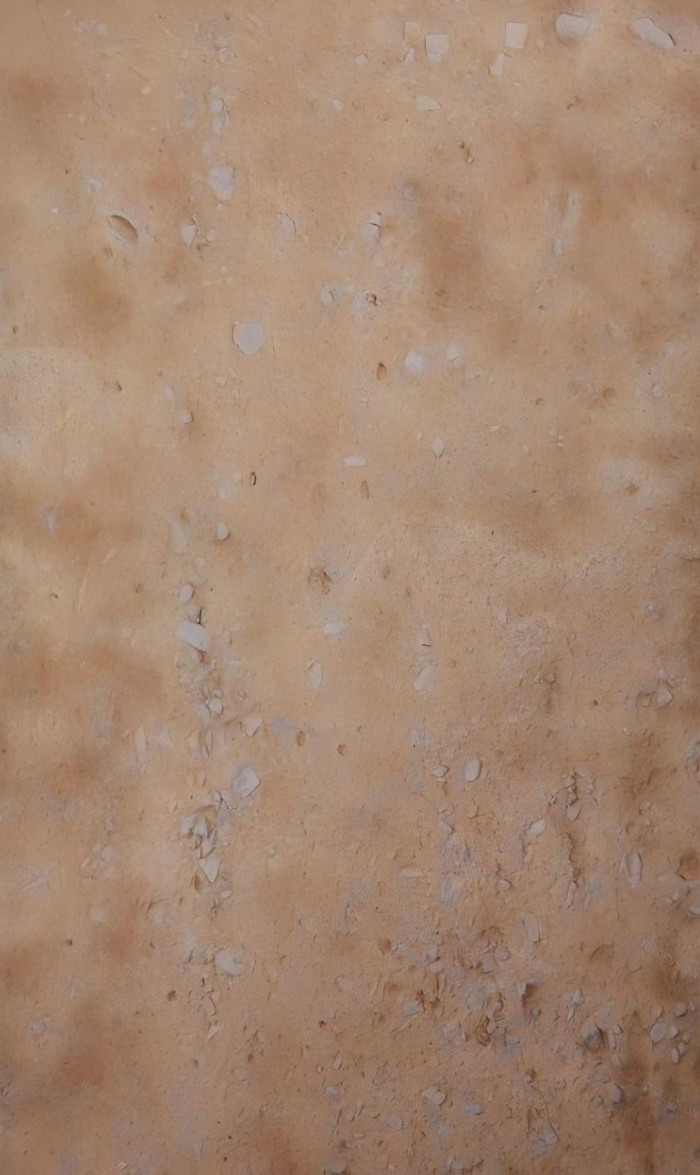


Aged Rammed Earth Panel

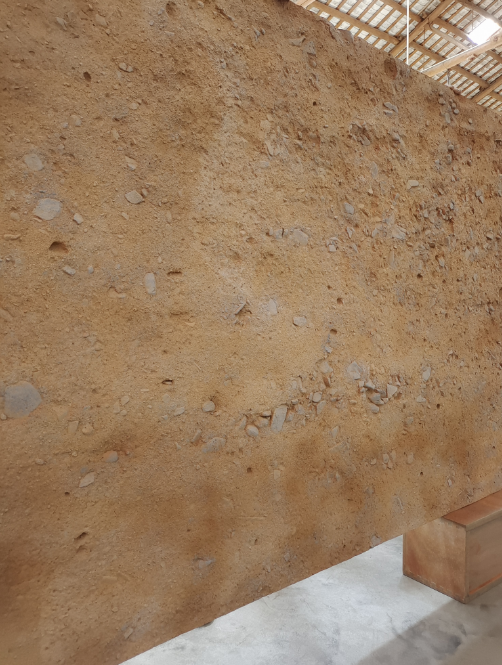


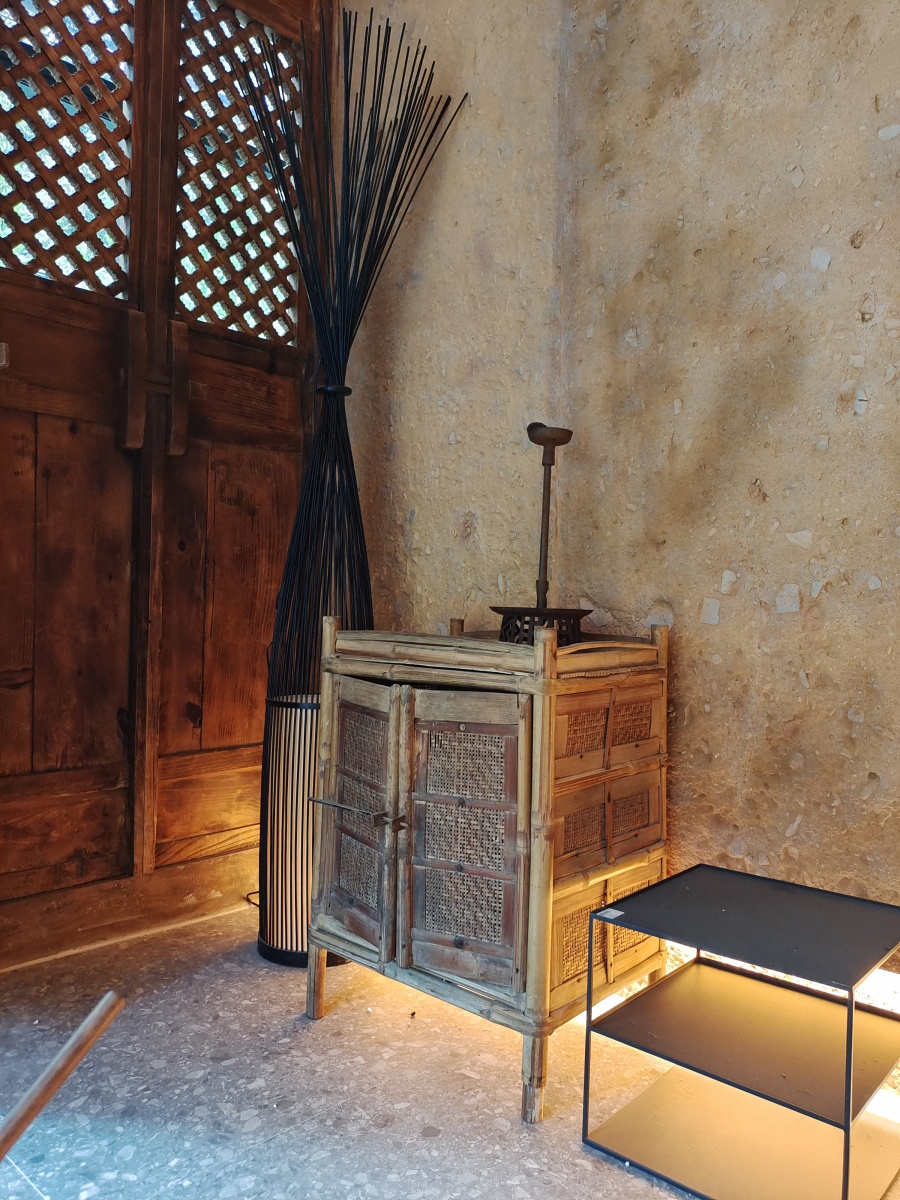
Details
Attention
Installation Steps:
Step 1: Trim the edges using a diamond blade saw, then cut the panel to the required dimensions for the wall.
Step 2: Apply dabs of high-strength construction adhesive or polyester-based marble adhesive to the back of the panel. For cement or cementitious substrates, a polymer-modified tile adhesive can be used instead.
Step 3: Place the decorative wall panel against the wall and press firmly to ensure full contact. Use the adhesive thickness to adjust and level the panel—leveling clips are recommended to achieve a flush surface.
Step 4: Secure the panel with a brad nailer, fastening it tightly to the wall. Once the adhesive has fully cured, the nails can be removed or left in place. For panels requiring a perfectly even surface, use tile leveling wedges and clips to hold alignment.
Step 5: Fill the joints using the pre-mixed repair compound from the sealed bucket (ready to use straight away; always reseal the lid after use, as the compound will dry out and become unusable if left exposed to air). Note: These panels feature pronounced surface textures, so when filling gaps, carefully follow the natural contours and relief pattern to blend seamlessly.
Step 6: This is the most critical step—please read thoroughly. Match the filler to the panel type: use flexible filler for flexible areas and rigid filler for rigid areas. After filling, wipe away excess material immediately, then clean the filled seams with a damp cloth or a soft brush to smooth the repair along the surface texture. While the filler is still semi-dry, clean the area again with a damp cloth or brush, working with the grain and texture of the panel to achieve a uniform appearance. Once the filler hardens, cleaning will be extremely difficult.
Step 7: Colour touch-up. Test the supplied tinting pigments on an off-cut first, adding a small amount of clean water to dilute as needed until the colour matches the existing panel finish exactly, then blend into the repaired areas.
Step 8: Final finishing. After installation, apply an even coat of clear protective sealer over the entire surface—either by spraying or brushing—to guard against staining and to unify the colour. Important: Do not apply the sealer or primer too thickly or heavily, as this can create a plastic film-like appearance and compromise the intended finish.


