
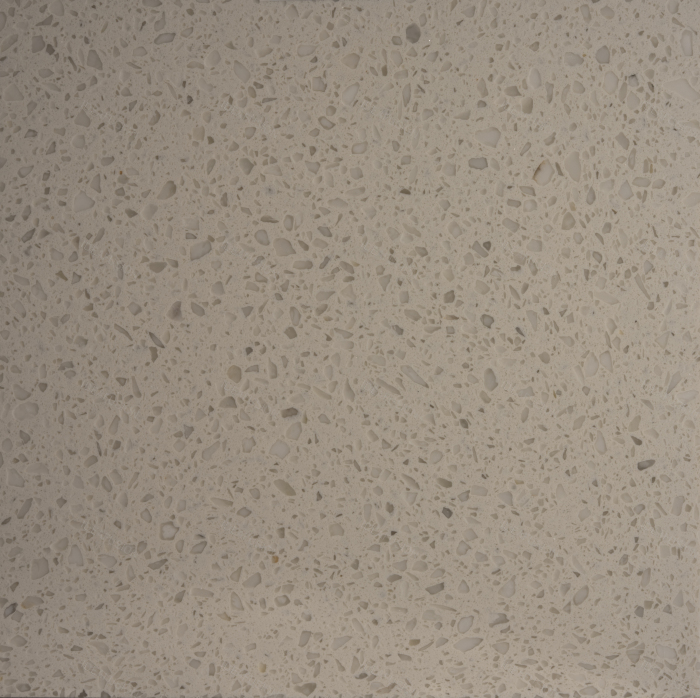


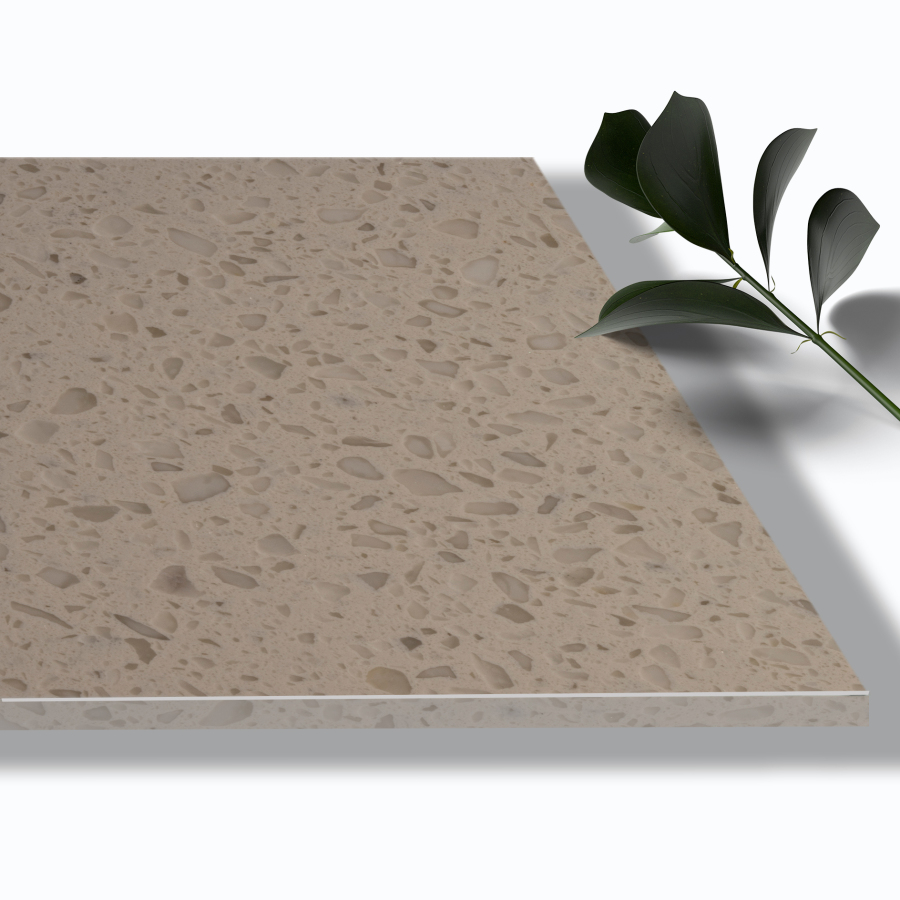
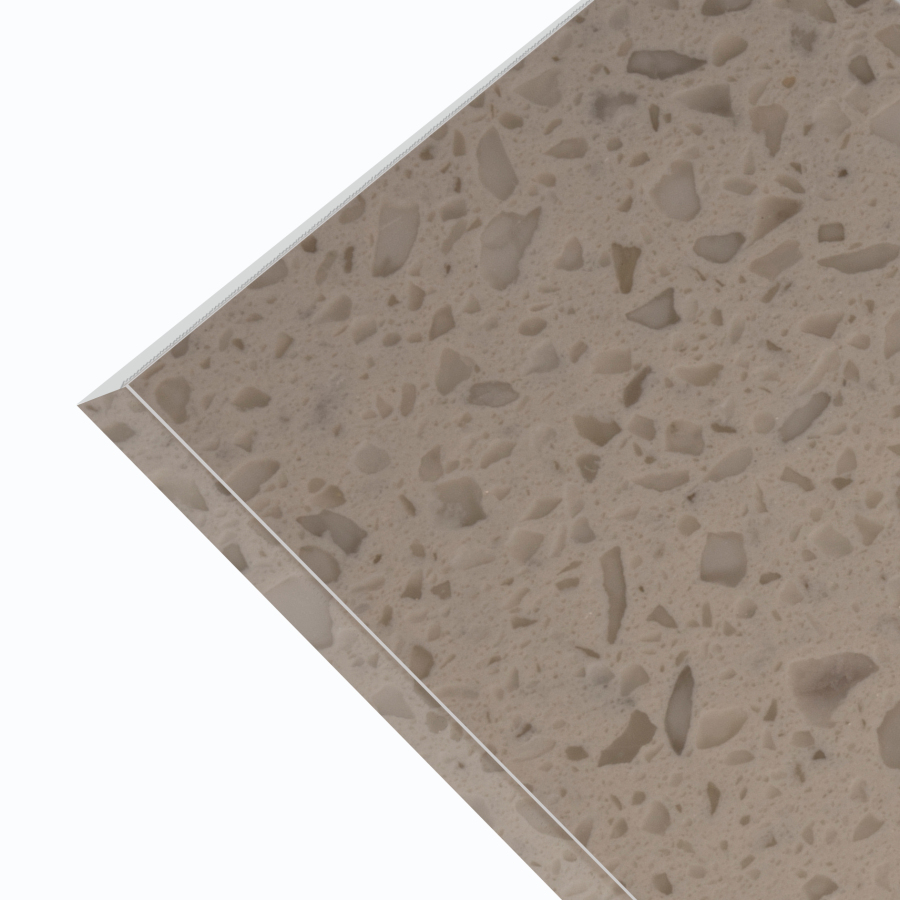
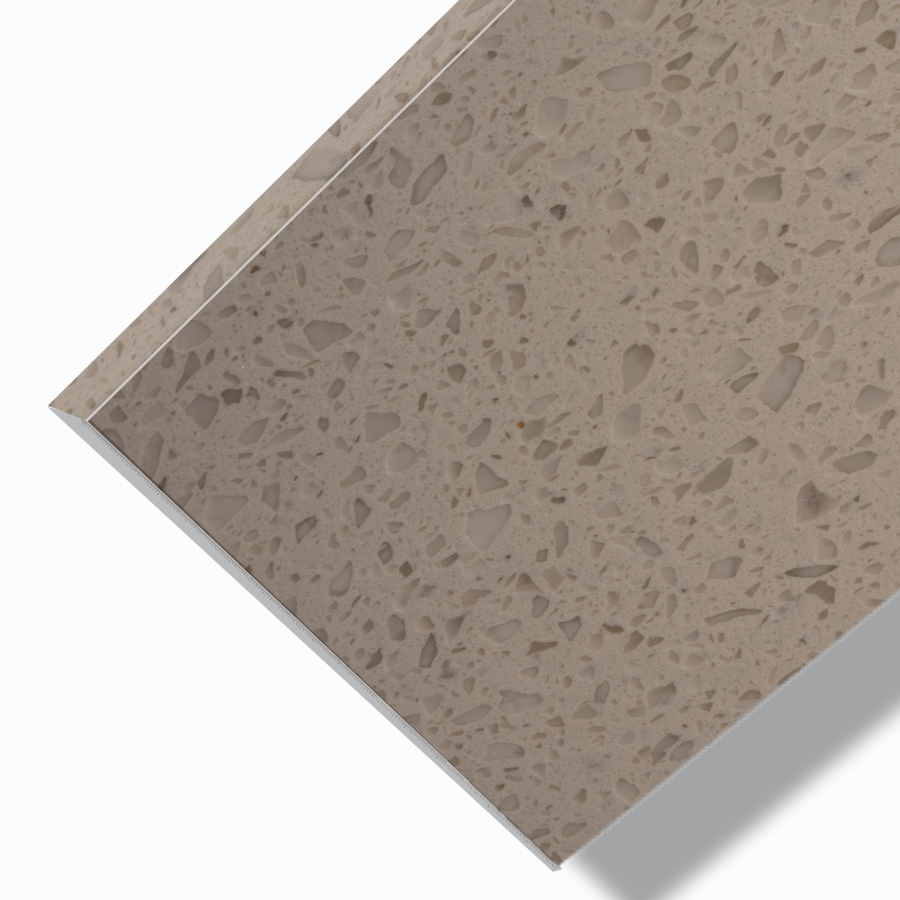
White Jade

Attention
Artificial Stone Flooring Installation
I. General Requirements for Artificial Stone Flooring Installation:
1. The artificial stone slabs shall be laid in an inside‑to‑outside sequence, starting from the side farthest from the door and gradually working back towards the door.
2. The border tiles and skirting should be aligned with the joints of the floor slabs.
3. Near doors and windows, provide protection against rain and water accumulation; ensure water, power, tools and safety measures are in place.
II. Thin‑Bed Method on Hard Substrate shall comply with the following:
1. Construction must be carried out on a fully hardened substrate. The concrete screed must be cured for more than 28 days, and the cement mortar screed for more than 14 days before installation.
2. Use a two‑component cementitious adhesive as the bonding material.
3. The hard substrate shall meet the following requirements:
1) The flatness deviation of the substrate shall not exceed 3mm per 2m. If the flatness does not meet the requirement, treat it with polymer‑modified cement mortar.
2) The working surface shall be free of standing water, and the moisture content of the substrate should not exceed 8%.
3) The substrate surface must be solid, clean, and free of grease, paint, dust, and other contaminants that affect bonding.
4) The strength of the substrate shall comply with:
① The concrete screed strength grade shall not be lower than C20;
② The leveling mortar strength grade shall not be lower than M15, the mortar layer thickness shall not be less than 20mm, and the cement‑sand ratio should be about 1:2.
4. The construction process flow shall follow the diagram:

5. Key construction points:
1) Roughen the substrate surface.
2) Snap cross‑reference lines on the substrate according to the construction drawings and extend them to the bottom of the walls.
3) Mix the adhesive according to the manufacturer's instructions, stir until homogeneous, and use immediately. Batch sizes should be determined according to the pot life of the product and the construction speed.
4) On the substrate, use the straight edge of a 10mm×10mm notched trowel to spread a flat layer of two‑component cementitious adhesive, then comb with the notched side to form full, uninterrupted ridges. Hold the trowel at a 45° angle to the substrate; adhesive thickness should be controlled between 3mm and 4mm.
5) Use a dry cloth or brush to remove dust, grease, rust, and other contaminants from the back of the artificial stone slab. On the back of the slab, use the straight edge of a 12mm×12mm notched trowel to spread a flat layer of adhesive, then comb with the notched side. Adhesive thickness should be 3mm–4mm, and the edges of the slab must be fully covered and beveled.
6) Place the adhesive‑coated slab gently. The direction of the adhesive ridges on the back of the slab must be parallel to the ridges on the substrate, so that the grooves mate with the ridges. Press the slab firmly and adjust the level.
7) Joints shall be left between the artificial stone slabs according to the design requirements; use spacers to maintain joint width. Movement joints shall be provided as specified in the design and shall extend down to the substrate.
8) After every 30 m² are laid, tap each slab lightly to check for hollow sounds. If any hollow area is detected, re‑lay the slab immediately.
9) Joint filling should preferably be carried out 28 days after installation or after the adhesive has fully cured and dried. Joint filling shall comply with the following:
① After cleaning the joints, fill them with a reactive resin grout that matches the color of the artificial stone. The grout must be applied evenly and fully, and bond firmly.
② Clean the movement joints down to the substrate. Before surface treatment, fill them with neutral weather‑resistant silicone sealant. After surface treatment, fill with U‑channel or other buffer material.
III. Soft‑Bed Method shall comply with the following:
1. After the leveling mortar is screeded on site, use a one‑component moisture‑curing polyurethane adhesive and follow the construction process flow shown below:
2. Key construction points:
1) Remove laitance, mortar splashes, oil, coatings, sealants, and other contaminants from the concrete screed that may affect bonding; remove any protrusions.
2) Based on the horizontal reference line on the wall, mark the finished floor elevation line. Except in bathrooms, the same floor elevation should be used for the entire level.
3) Lay the leveling mortar as follows:
① Apply a layer of cement slurry with a water‑cement ratio of 0.4–0.5 onto the concrete screed. Do not apply over too large an area at once; spread the mortar immediately after the slurry.
② Place the leveling mortar. The thickness should be such that when the artificial stone slab is placed, it is 3mm–4mm above the finished level line. The leveling mortar should use ordinary Portland cement of at least 32.5 grade, and medium or coarse sand with a mud content of less than 3% and no organic matter. The cement‑sand ratio should be about 1:2, mixed with water until it holds together when squeezed but crumbles when tapped. After spreading, screed with a straightedge and tamp with a float.
4) Snap cross‑control lines, then dry‑lay the artificial stone slabs on the mortar bed. Press and shake them firmly to check color, dimensions, and edge flatness; swap slabs if needed.
5) Apply the adhesive as follows:
① Prepare the one‑component moisture‑curing polyurethane adhesive according to the manufacturer's instructions.
② Lift the dry‑laid slab and apply a small amount of adhesive on the mortar bed at the four corners of the slab. Then clean the back of the slab with a dry cloth or brush, and apply the adhesive with a 6mm×6mm notched trowel, controlling the thickness to 2mm–3mm. The edges of the slab must be fully covered and beveled.
6) Place the adhesive‑coated slab steadily onto the mortar bed, press and tap firmly to level. Do not use rough impact.
7) Leave joints between slabs as required, using spacers. Movement joints shall be provided according to the design and extend to the substrate.
8) After every 30 m² are laid, tap each slab lightly to check for hollow sounds; re‑lay if hollow.
9) Joint filling shall be carried out preferably 28 days after installation or after the adhesive has fully cured. It shall comply with the following:
① After cleaning, fill the joints with reactive resin grout matching the slab color, ensuring even and full application and firm adhesion.
② Clean the movement joints down to the substrate. Before floor care, fill with neutral weather‑resistant silicone sealant; after floor care, fill with U‑channel or similar buffer.
IV. After the flooring is laid, continuously cover it with a breathable protective layer such as gypsum board, fiberboard, cardboard, or composite wood board to prevent scratching, contamination, and vibration during subsequent work. Do not walk on the surface within 3 days after installation. No moving of goods, setting up ladders, or heavy equipment traffic shall be carried out within 7 days.


